NES Graphics Specs

Resolution and Colors
NES games had a resolution of 256x224 pixels (NTSC) and 256x240 pixels (PAL). Although most games were developed with the entire 240 vertical pixels intact, since NTSC regions cut off the top and bottom 8 pixels, these areas were typically unimportant in most games and were mostly filled with the background color on the screen.
Color-wise, the NES used a palette of 56 colors across the board for all games. Rather than being mathematically created by 2-bit RGB values (like the Sega Master System's 64 color palette), instead the NES's palette seems to have been hand-selected and is a bit different. By default, a game can have 13 colors available for sprites (one transparent), and 13 colors available for background tiles.


Moving Objects: Sprites
There is a single sprite layer available on the NES. Even though 16 index values are actually used for sprites, these were split into four 4-color palettes (3 colors and a transparent color that was shared across all sprites), which gives you the 12 total colors plus transparency.
The NES could store in vram 256 8x8 pixel sprite tiles (a total image size of 128x128 pixels). Of these tiles, the system could handle up to 64 of these 8x8 sprites on-screen before causing any visual flicker, or rather some sprites missing from frames. If more than 8 sprites were displayed horizontally across a single scan line, this would also cause flicker. Sprites on the NES can be flipped horizontally or vertically as to save space in vram for more graphics.
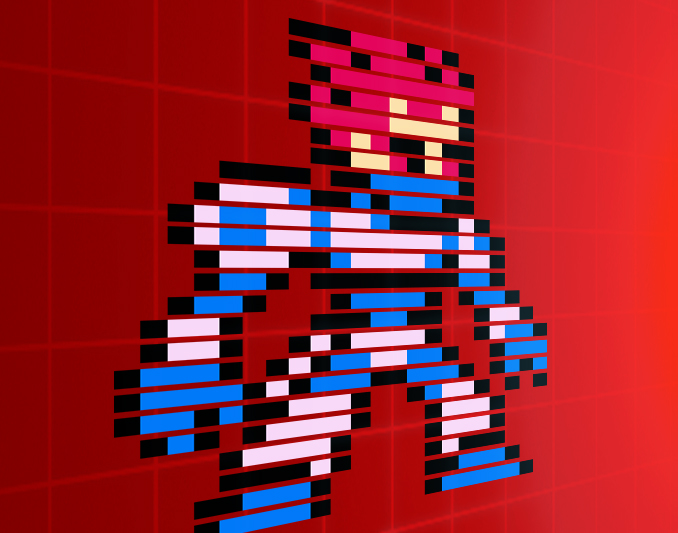
Any on-screen 8x8 sprite tile could use any of the 4 available color palettes dedicated to sprites. This would give developers the ability to create the illusion of sprites that contained more than 3 colors, by making some 8x8 tiles which made up a sprite use different palettes than the others. Developers could also 'stack' the sprites on top of one another for a similar effect. An example of this is how Megaman's face is a single tile put on top of his otherwise blue helmet. When this is done though, these sprites are still considered on the same scan line and will add to the potential flicker problem.

Background Graphics
The system could display a single background tile layer on the screen. Very similar to sprites, the background tiles for the NES also have a limit of 256 8x8 pixel tiles in vram. And just like sprites, there are another 16 index values of color dedicated to background tiles also divided into four 4-color palettes. However, the first index of each of these is considered a shared 'background color' that must be the same across all palettes, giving you the 13 actual colors.
One limitation of displaying background tiles is that every 16x16 pixel area of the map must share one of the 4 select-able palettes. This is why many environments on the NES had a very 'blocky' look to them with 16x16 tiles used to construct maps (combining four 8x8 pixel tiles). However, it is possible to use the same vram tiles but change the palettes for them in different locations of the map. For example, this is often seen when games have an under water section of the map that uses the same walls and floors, but needs to be tinted a bluish color. Another limitation for background tiles is that they cannot be flipped like sprites.
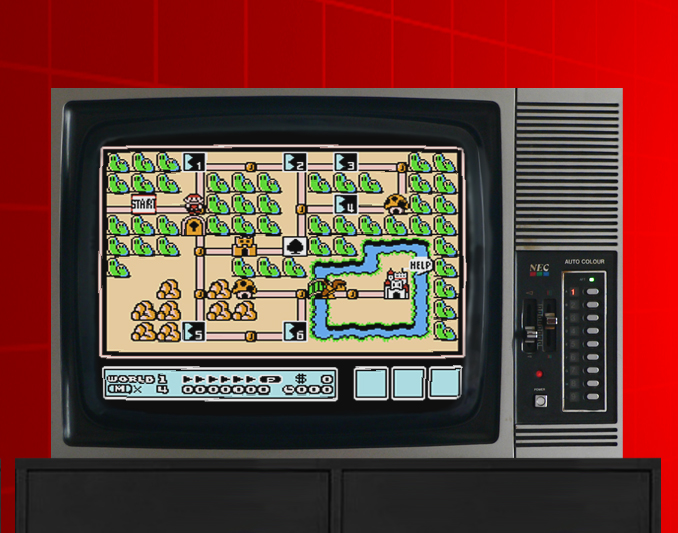
The NES also had the ability to 'split' the screen horizontally at any given scan line so that each portion of the split could scroll independently of one another. This is how many HUDs are created for the NES, and also how large bosses with a single color background, seemed to move around on screen and be much bigger than what you could create using only sprites. You can also use this method to carefully construct the illusion of paralaxing backgrounds. There is a limitation to this effect in which some color glitching can occur at the scan line of the split. A famous example of this is Super Mario Bros 3's HUD having the constant visual glitch in the top-left in the final shipped game.

Special Effects & Tricks
There are some techniques you can use for NES graphics that help bring your games to life. Below are the most common tricks that were used for many games.
Color Cycling & Swapping
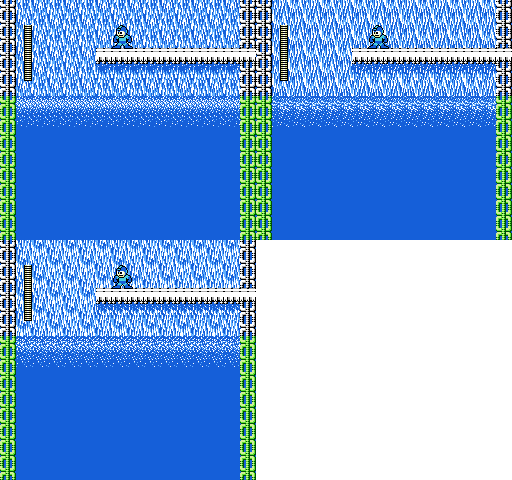
The NES can swap out palette colors on the fly. In many games you may see a flowing waterfall or river of lava. This is usually created by dedicating a unique palette to this section of the map and simply swapping out the colors in such a way to mimic a 'flow' effect with the values being changed. In this case the tile itself is not changing, only the palette is. There are other ways you can use color swapping to great effect, such as flashing environments or changing the overall color scheme on the fly (for night or day effects, or other purposes). This can be done with both tiles and sprites.
Tile Animation
When the chip sets for NES cartridges became more advanced, it became easier to animate many tiles on the screen at once. This is a case where the actual pixels need to change to pull of an animated effect. A good example of this are the spinning coins in Super Mario Bros 3, which were made with tiles instead of sprites to prevent flicker. Many other games make great use of animated tiles for things such as water, coastlines, clouds, etc.
Detailed Info
Although the information above is a concise run-down of the most common basic graphical abilities of the NES, there is a lot more to learn as always.
For more detailed information, click HERE.

You can also back our projects via a Bitcoin donation.
Our BTC address is: bc1qf2k0dqp2p3cys43wfs4tmdnsxzyzr4ptvkyyxz
or scan this QR code with your mobile app.

